Detail Car Wash : Feature
While in self isolation I decided to give the car a clean. Here’s a blog on what I used and my thoughts on the best way to clean a car.
Garry Llewellyn
8 min read
Detail Car Wash
I’m a regular guy and no professional, the process I follow is from my own experience.
Preparation Is Key
Before starting to clean its important to check you have everything you need and that your cloths etc are all clean and grit free. This will save you a trip to Halfords mid way through the car wash, and it will ensure you are not going to cause any damage to the car. I ensure that the buckets I use have a grit guard. This stops the sponges hitting the bottom of the bucket and picking up any of the larger dirt and grit particles washed off the vehicle.
Wash Pre Wash
Its important to give the vehicle a pre-wash before the main wash. This will remove the larger dirt particles and soften the rest of the grime. One way of pre-washing is to use a power washer fitted with a Snow Foam lance. This will cover the vehicle with a thick snow like foam that loosens surface dirt and is simply washed off with the power washer after a few minutes.
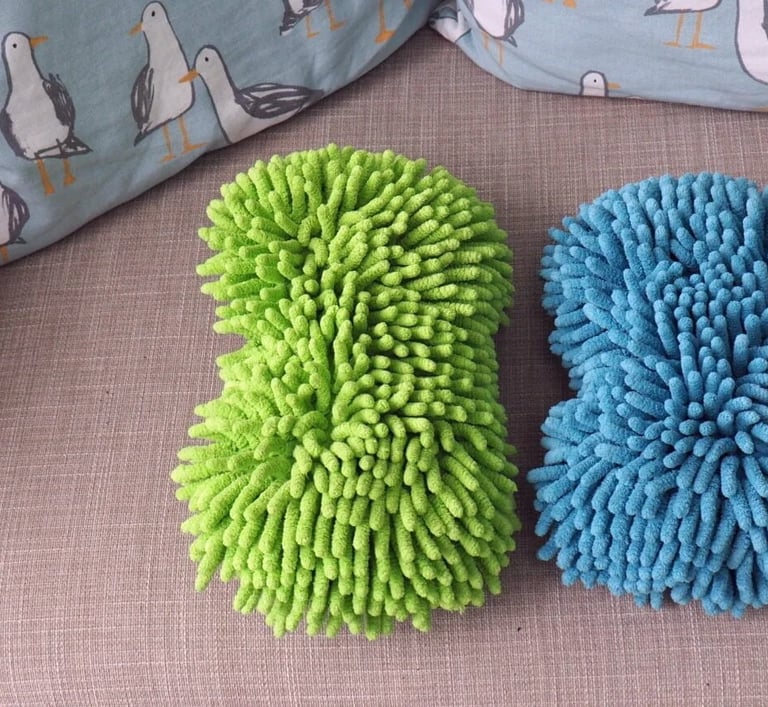
For today’s wash I opted for a simpler option, a bucket of cold water and two microfibre sponges. These types of sponge are kind to the paintwork and trap the dirt to help prevent scratches. As I am using only cold water with no cleaning solution at this stage, I want to ensure that I cause no damage to the paint by dragging around large bits of loose dirt. I do this by using one sponge (Blue one) for the lower parts of the car (where the large particles of dirt build up) and the 2nd sponge (green one) is used for the rest of the car that is not as dirty.
No car shampoo is being used at this stage so its important to remember not to press hard on the sponges as you move around the vehicle, and remember to rinse the sponges regularly. The job at this stage is to loosen the grime and not attempt to remove it. The car may actually look worse once the pre wash is complete
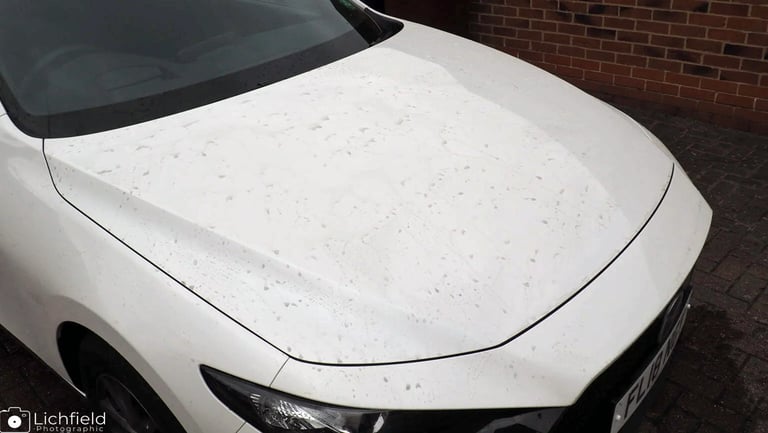


Pre Wash Complete
Microfiber Sponges
“Happiness is .... Driving your car after the car wash”
Main Wash
Once the pre-wash is done I move onto the main wash. I use two buckets for this. One with the cleaning solution and one with plain water. The trick here is to clean the car and minimise any chance of scratching the paint in the processes. Again I use the two sponges so that one is used for the bottom of the car the other for the rest of it. Once used the sponge is rinsed in the plain water bucket and returned back to the suds to continue the wash process.
Now for the science bit. When removing dirt or grime from the vehicle I find it is best to use shampoo that is PH Neutral. Not only does this type of shampoo attract dirt more easily, it also means that your vehicle is chemically protected and the shampoo won’t degrade the paint or any waxes or sealants, so the car will stay protected after a wash.
The shampoo I use is Meguires NXT. Its a little expensive but lasts ages.
Meguires describe it as:
‘ A completely synthetic car wash concentrate that loosens and emulsifies even the toughest dirt and road grime while synthetic lubricating oils glide them off of the surface without marring the finish. Engineered water softeners help reduce deposits in hard water, leaving behind a spot-free finish.’
The formula is strong so you only need a drop of solution. If you use too much solution the car can dry a bit streaky. If this happens, it can easily be resolved with a rinse of cold water.
Drying
When drying the vehicle it’s important to consider the risk of scratching the paint and causing swirl marks. Therefore the drying technique is important.
Experience tells me to avoid products like chamois leathers both real or artificial and cheap microfibre towels. I find that Chamois tend to be oily can be really stiff until they become damp, and cheap microfibre towels leave moisture on the vehicle that can also dry streaky. These types of products also have to be dragged around the car in a cleaning type motion in order to maximise drying. This introduces the risk of damaging the paints top coat introducing more swirl marks and are best avoided.
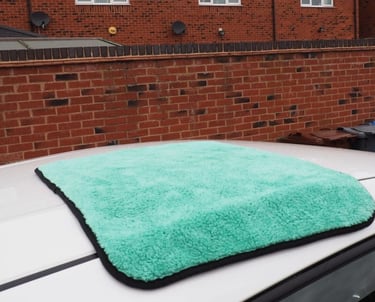
I tend to favour ‘Drying Towels’. These are specially designed towels that are simply placed on the vehicle and left to absorb any water on the car. They are then picked up and then placed down on the next spot. The process is then repeated across the whole vehicle. This is the best way to prevent any remaining dirt particles to be dragged around the car whilst drying.
I use several drying towels, the best one being from a company called Auto Finesse. It’s a dual layer towel with an inner absorbent core and a feel of thick carpet due to its 1200g/m deep pile. I find it absorbs all surface water really well.
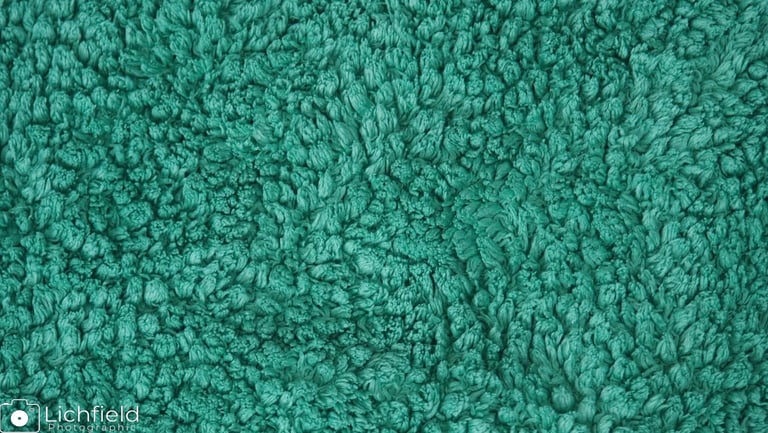


Drwing Towel Fibre
Drying Towel
Paint Protection
Now the car is washed and dry and looks shiny you might think that the job of cleaning is over and you can move on to other areas of the vehicle. If you run your finger across the paint it may still feel rough to touch and if you lake a closer look you may find that you still have marks such as tar or very small orange dots in the paint. These orange dots are typically iron particles that have embedded and could do with being removed.
There are various products on the market that claim to remove these contaminants and most work well. But the best way I have found to remove them is via a clay bar.
A clay bar is a small bar of thick putty that is used in conjunction with a lubricating wax spray. They are really easy to use, simply spray a small area on the car and wipe the clay bar over it, No need to press hard. The clay pulls the contaminant out of the paint and the lubricant spray prevents damage to the clear coat. If the car is a few years old its worth spending some time to do the whole car.
If the vehicles paintwork has been neglected you could also use a cutting compound alongside a clay bar. This is a type of car polish that is a little bit more abrasive and cuts into the paint to remove contaminants.
any time you use a clay bar, car polish or cutting compound its important to put a layer of protection back onto the paint. The best wax of doing this is to apply a wax either in liquid form or hard compound.
Here are a couple of examples of an 8 year old car that I had Pre-washed, washed, clayed, polished with a cut compound, liquid waxed, and finally hard waxed.
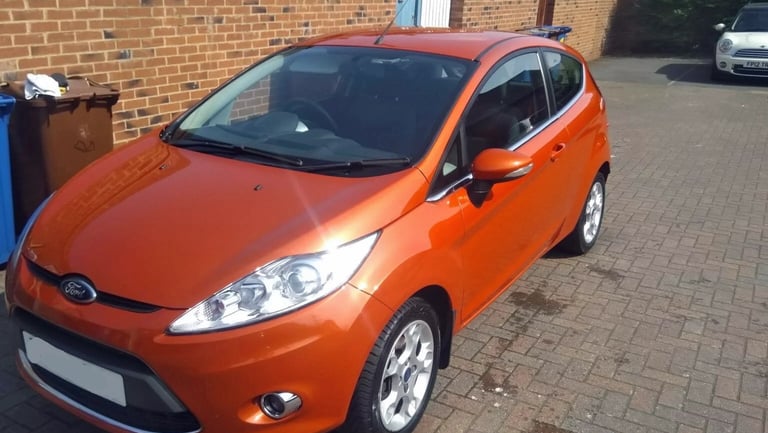


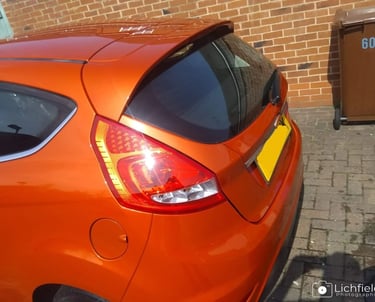
Front View Of 2012 Fiesta Detail Cleaned
However as Flingy is less than a year old I am not going to use a polish or a cutting compound at this stage. Instead I will use the clay bar to target and remove spots of tar, and then move onto using a paint sealant.
Paint Sealants have been available commercially for many years. Brands like Diamond Bright or Star Guard are sold by main dealers, usually for a quite hefty mark up.
More recently consumer versions have been cropping up. At its most basic level Paint Sealant is a synthetic polymer that binds to the surface of the paint. Most are classed as semi permanent (I.e they last for approx 6 months between application) . The synthetic polymers offer a degree of gloss
reflection and the added benefit of protecting against acid rain, bird lime and the damaging effects of UV. As they are still new to market and prices and brands vary wildly. The one I am using for this wash is from a new Brand called Mattallics and came recommended. On their website Mettalics say:
“Hydro Eclipse is a is a semi-permanent paint sealant designed to provide the surface with maximum gloss, beading and durability whilst using its hydrophobic guard to protect the car from harsh elements like acid rain, bugs, road salt and grime. “
This is my first time using ‘Mattallics Hydro Eclipse’ and I was not sure how well it would apply. I followed the instructions on the bottle used a microfiber applicator and wiped it all over the car. I popped off for a coffee while I waited for it to cure then buffed it off as directed. I can say that a little goes a long way and it is as easy to use as they say.
Its safe to say I am really pleased with the results and one of the benefits of using a sealant is that the black plastic trim does not need any back to black applying, saving a few quid!
The final step to protecting the paint is to apply a layer of wax. This is an extra layer that will sit on top of the freshly applied sealant. Again you can find tons of different waxes available I started using Farecla G3 Super Gloss Paste a few years ago and I cannot rate it highly enough. Farecla say..
‘Made with selected hydrocarbons, microwaves and high grade Carnauba wax, the results are an exceptional ultra high gloss finish and up to 6 months protection’
With all waxes you apply, wait a few minutes and wipe off. Most become difficult to remove or do not last very long once applied.
G3 is easy to apply and remove, lasts for the 6 months stated and tends to look better and better around 24 hours after being applied to the vehicle. Here is a photo of my black spoiler with both sealant and the wax applied.
Wheels
Wheels are a tricky one. Some people like to use wheel cleaner chemicals and some people say you should not use them. I tend to use them sparingly and I favour using a household steam cleaner and giving them a good scrub. This tends to work just fine.
I also have some Auto Finesse Mint Finish wheel wax, to use after the clean. Its supposed to give the rims a glossy just washed look and protect against brake dust . In reality its hard to use and doesn’t make much difference when its on, so I wont buy any more of it.
Words Garry
Editor JJ
Photos Lichfield Photographic
You might like our other Features
About Us
The Silver Hedgehog is a review website dedicated to providing in-depth reviews. We aim to review a wide variety of Films, Entertainment, Family Days Out and Special Features.
Indie Filmmakers, Publicists and Small Business Owners
Indie filmmakers, publicists, creatives, and Small Business owners interested in coverage
please email screeners or inquiries to submissions@thesilverhedgehog.com
©️Garry Llewellyn 2020-2026 All text is the property of Garry Llewellyn and TheSilverHedgehog.com.
Text should not be reproduced in whole, or in part, without permission from the author.
All images, unless otherwise noted, are the property of their respective copyright owners.


